Installing a chain link fence yourself involves five main stages — planning your layout and checking local codes, buying the right fabric, posts, and hardware, setting terminal and line posts in concrete, stretching and attaching the fabric, and hanging your gates. Most DIYers with basic tools can complete a residential chain link fence in a weekend once materials are on-site. For Metro Atlanta homeowners, Circle A Fences supplies everything needed for a DIY chain link project, including fabric the company manufactures in-house.
Chain link remains one of the most popular fencing choices for Atlanta-area yards because it’s affordable, low-maintenance, and fast to install compared to wood or ornamental steel. This guide walks through exactly how to buy the right materials and install a chain link fence yourself, step by step.
Why Choose Chain Link Fencing for a DIY Project?
Chain link is the go-to option for DIYers for a few practical reasons:
- Lower cost per linear foot than wood, vinyl, or ornamental steel
- No cutting, staining, or painting required for galvanized fabric
- Straightforward installation using standard hand tools plus a post hole digger or auger
- Long lifespan — galvanized fabric can last decades with minimal upkeep
- Flexible privacy options — slats can be added later without rebuilding the fence
It’s an especially popular choice for backyard pet enclosures, pool code compliance, side-yard security, and property-line marking across Metro Atlanta neighborhoods.
Step 1: Plan Your Layout and Check Local Requirements
Before buying materials, walk your property line and mark where the fence will go.
- Confirm your property boundary. Use your plat/survey if you have one, or have your line staked to avoid disputes with neighbors.
- Check local permit and height rules. Many Metro Atlanta municipalities and HOAs regulate fence height, setback from the property line, and pool-enclosure requirements. Confirm rules with your local building department before you dig.
- Call 811 before digging. Georgia law requires a utility locate at least a few business days before any digging to mark underground gas, water, and electrical lines.
- Sketch your fence line, noting corners, gate locations, and any grade changes. This determines how many corner, end, and line posts you’ll need.
Step 2: Choose the Right Chain Link Materials
This is the step where most first-time DIYers get overwhelmed — but the choice really comes down to three decisions: coating, gauge, and height.
Galvanized vs. Vinyl-Coated Fabric
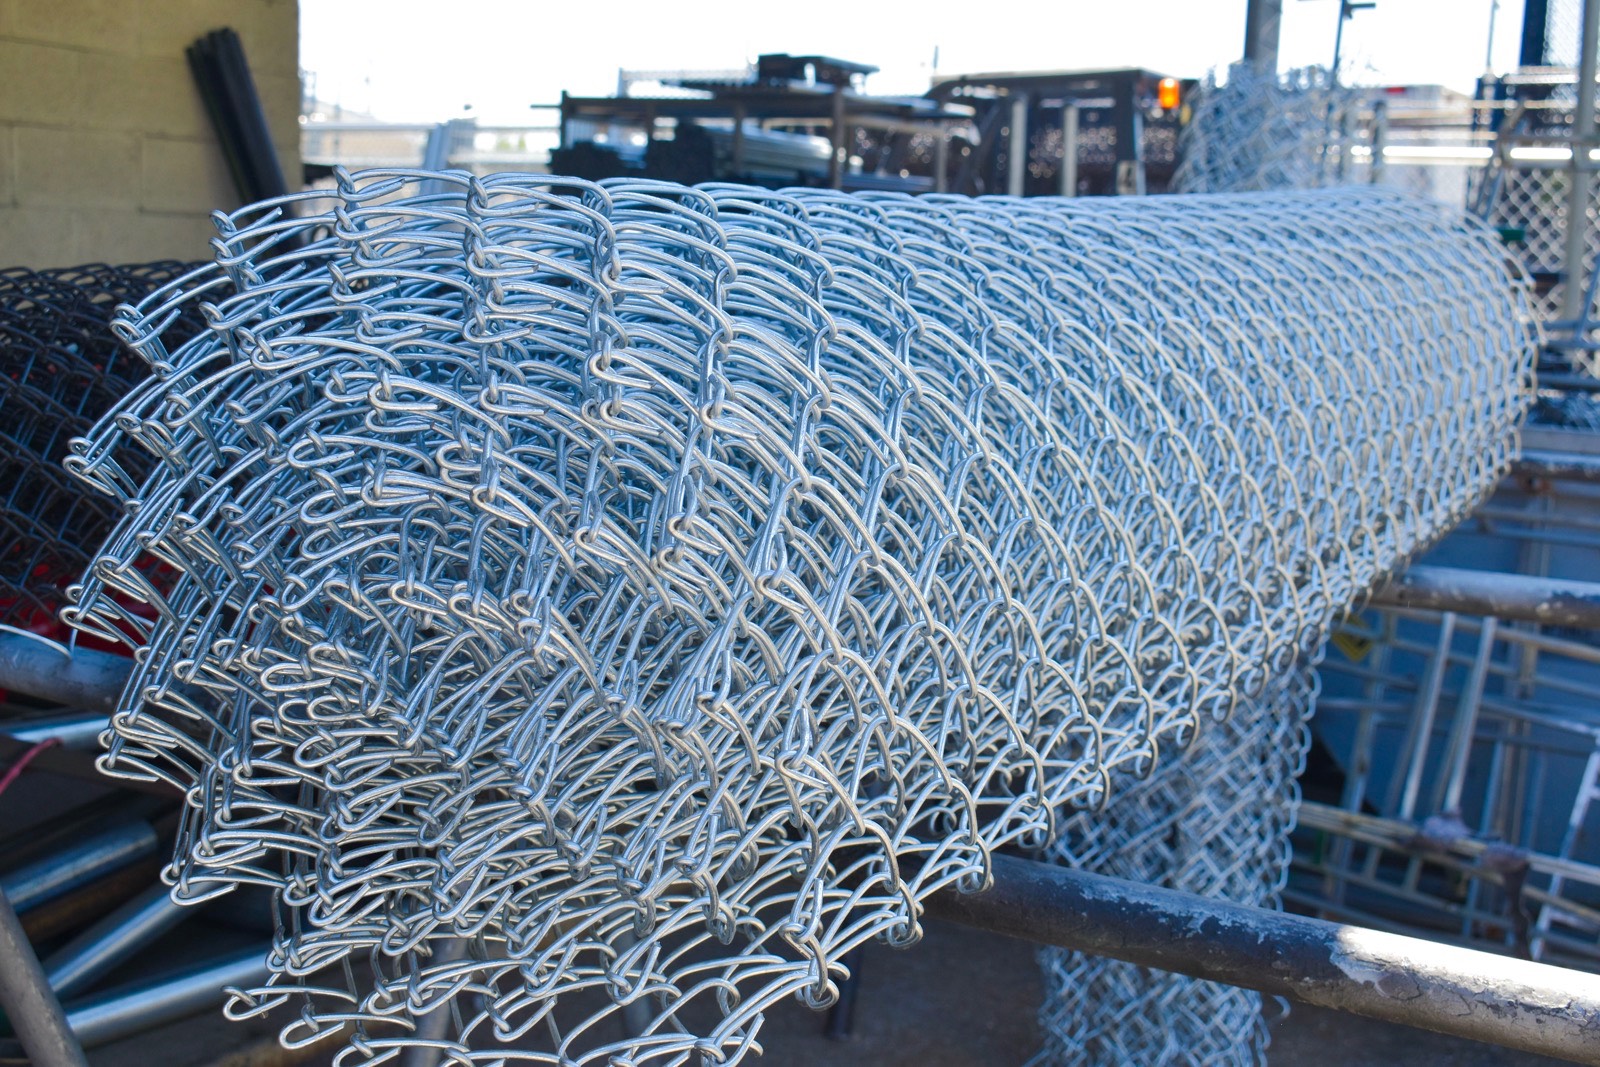
- Galvanized fabric is the classic silver chain link — durable, cost-effective, and ideal for most residential and utility fencing.
- Vinyl-coated fabric adds a colored PVC coating (usually black or green) over the steel wire, which resists corrosion further and blends in better with landscaping.
Gauge — How Heavy-Duty Do You Need?
Gauge refers to wire thickness — the lower the number, the thicker and stronger the wire.
- 11½ gauge — standard for residential yards and light-duty applications
- 9 gauge — heavier-duty, better for pet containment, active families, or higher security needs
- 6 gauge — commercial and industrial-grade strength
Height
Residential installs are typically 4′, 5′, or 6′ tall, with 4′ common for front yards and pool code minimums, and 6′ common for backyard privacy and containment. Commercial and industrial jobs can run up to 12′ or taller by special order.
Mesh Size
Standard residential fabric is typically 2″ or 2⅜” mesh; vinyl-coated fabric commonly comes in 2¼” mesh. Smaller mesh sizes offer tighter containment, which matters if you have small pets.
Don’t Forget the Hardware
A complete chain link installation also requires:
- Terminal posts (for corners, ends, and gates) and line posts (for straight runs)
- Top rail to connect line posts and stiffen the fence
- Tension bands, brace bands, and rail caps/loop caps
- Tension wire or tension bar for stretching fabric tight at ends
- Post caps
- Gate hardware (hinges, latches, and gate frames) if you’re adding a gate
- Concrete for setting posts
- Privacy slats (optional), if you want added screening without switching fence types
Buying fabric without matching hardware is one of the most common DIY mistakes — always buy your fabric, posts, and fittings together so gauges and sizes match.
Step 3: Set Your Posts
Once materials are on-site, installation starts with the posts.
- Dig post holes at each corner, end, gate location, and change of direction, then at consistent intervals (commonly every 8–10 feet) for line posts. Holes should generally be about one-third the post’s above-ground height, adjusted for your soil conditions and local frost depth guidance.
- Set terminal posts first (corners, ends, and gate posts) — these carry the most tension and need to go in plumb and in concrete.
- String a mason’s line between terminal posts to keep line posts perfectly straight.
- Set line posts along the string line at even spacing, plumbing each one before the concrete sets.
- Let the concrete cure fully (typically 24–48 hours, weather-dependent) before stretching fabric or hanging gates — pulling on green concrete can shift your posts out of line.
Step 4: Attach Rail and Stretch the Fabric
- Install top rail, connecting each line post with rail caps and terminal posts with rail ends.
- Attach tension bands to each terminal post (typically spaced evenly along the post height).
- Unroll the fabric along the fence line and stand it up against the posts.
- Attach one end of the fabric to a terminal post using a tension bar threaded through the last row of diamonds, secured with tension bands.
- Stretch the fabric using a come-along or fence stretcher, pulling it taut toward the opposite terminal post. Proper tension prevents sagging over time.
- Secure the stretched end with a second tension bar and tension bands.
- Tie the fabric to the top rail and line posts using tie wires every 12–24 inches along the rail and at each line post.
- Attach the bottom tension wire, if used, to keep the base of the fence tight to the ground line.
Step 5: Hang Gates and Finish Up
- Attach gate hinges to the gate posts and hang the gate frame.
- Install the latch and confirm the gate swings and closes properly.
- Add post caps to all posts for a finished look and to keep water out of hollow posts.
- Weave in privacy slats, if desired, once the fabric is fully installed and tensioned.
- Walk the full fence line and check for loose ties, sagging sections, or gaps at the ground.
Common DIY Chain Link Mistakes to Avoid
- Skipping the 811 utility locate before digging
- Setting posts without checking they’re plumb before concrete cures
- Under-buying fabric or hardware and having to make a second trip
- Using the wrong gauge for the job (light-duty fabric for an active dog, for example)
- Stretching fabric before the concrete has fully cured
- Spacing line posts too far apart, which leads to sagging over time
Buying Chain Link Fencing Materials in Metro Atlanta
If you’re tackling a DIY chain link project anywhere in the greater Atlanta area, Circle A Fences is a practical local source for materials. The company has supplied fence materials to Georgia homeowners and contractors since 1968 and is one of the few chain link manufacturers in the country with its own in-house fabric manufacturing operation — which means more consistent stock and availability, even when other suppliers are sold out.
For an Atlanta-area DIY project, Circle A Fences offers:
- Galvanized and vinyl-coated chain link fabric in a range of heights, gauges, and mesh sizes, including 11½-gauge and 9-gauge residential fabric and heavier 9- and 6-gauge commercial-grade options
- All the matching posts, terminals, rail, and fittings needed for a complete installation
- Privacy slats in multiple colors to add screening to an existing or new chain link fence
- On-site cutting of fence wire to length
- Knowledgeable counter staff who can help first-time DIYers work from a hand-drawn sketch to a full materials list
- Equipment rental at select locations for tools like post hole diggers, useful if you don’t own heavy equipment for a one-time project
Circle A Fences serves the Atlanta metro from convenient locations in Marietta, Conyers, Newnan, Gainesville, and Rome, GA, so DIYers across the region have a nearby spot to pick up materials, get cutting done on-site, and ask questions before starting a project. Homeowners on the north side of Atlanta will find the Marietta location on Canton Road particularly convenient.
Frequently Asked Questions
How much chain link fence can I install in a weekend?
A homeowner with basic tools can typically set posts one day and stretch fabric and hang gates the next, once concrete has cured — making a standard residential backyard achievable in a weekend for most DIYers.
What gauge chain link fence is best for a backyard with pets?
9-gauge fabric offers more strength than the standard 11½-gauge and holds up better against active or larger pets pushing on the fence line.
Do I need a permit to install a chain link fence in Metro Atlanta?
Requirements vary by city and county, and some HOAs add their own height and material rules. Check with your local building department before digging.
How deep should chain link fence posts be set?
As a general rule, posts should be set to roughly one-third of their total above-ground height, though depth should be adjusted for local soil and frost conditions.
Can I add privacy to an existing chain link fence?
Yes — vinyl privacy slats weave directly through existing chain link fabric and are available in multiple colors, without needing to replace the fence.
Where can I buy chain link fencing supplies near Atlanta for a DIY project?
Circle A Fences supplies chain link fabric, posts, and hardware for DIY installations from locations in Marietta, Conyers, Newnan, Gainesville, and Rome, GA, serving the Metro Atlanta area.
Planning a DIY chain link fence project in the Atlanta area? Contact Circle A Fences or visit your nearest location for materials, cutting, and expert guidance — or call (770) 424-7862.
